Create an Event
Capacity4dev's events are an excellent way to share, promote, and engage with community members in various activities. This step-by-step guide will help you effectively create and share your event on the platform, ensuring maximum visibility and participation.
Take advantage of these simple steps to create and share your event on Capacity4dev:
- Step: Log in to Your Capacity4dev Account
- Step: Navigate to the Post content button
- Step: Create an Event
- Step: Choose a location
- Step: Complete the Event Form
- Step: Tag Your Event
- Step: Provide Additional Event Details
- Step: Attach Relevant Documents
- Step: Save as a Draft or Publish
Detailed steps
Step 1: Log in to Your Capacity4dev Account
Sign in to your Capacity4dev account to access the platform's features and create an event. You must be at least a member of one Group OR Group/Project/Resource Owner or Administrator.
Step 2: Navigate to the Post Content button
To create the event, you should click on the yellow button "Post content" in the right top corner.

Click on the "Create an event" link in the drop-down window to start creating a new event.
Choose where you want to post your event.
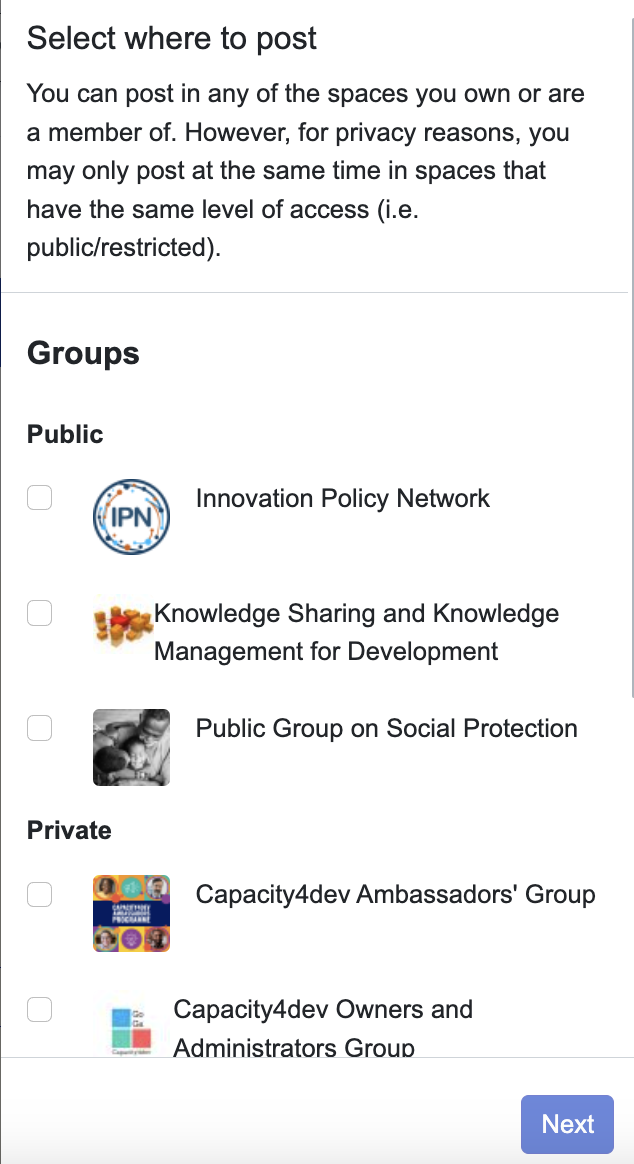
TIP: If you still want to post the same item in both public and private space, post the item first to the public Group and then re-share the item to your private space, when published.
Step 5: Complete the Event Form
Fill in all mandatory fields marked with an asterisk (*), including the title, event type, description, and date and time. Make sure to provide clear and concise information to help users understand the event's purpose.
Improve your event's visibility by selecting the language, Topics and Countries. Proper tagging ensures that users interested in the same topics can easily find your event.
Step 7: Provide Additional Event Details
Enhance your event's description by adding information such as organiser, event website, and social media links (Facebook, LinkedIn, etc.). This will give users more context and encourage them to participate.
TIP: You can still adjust or add another location of where the event should be posted.
Step 8: Attach Relevant Documents
Upload documents such as the agenda, background information or presentations. This allows you to share important files related to the event and provide attendees with valuable resources.
TIP: You can add the Calendar invite together with a link to connect by attaching a file in .zip format because .ics is not supported by our platform. Alternatively, you can simply hyperlink the connection link inside the body text!
Step 9: Save as a Draft or Publish
You can either save your event as a draft for later editing or publish it directly on the platform. Once published, your event will be visible to the Capacity4dev community and members of the specific Group will be notified.
In case for any reason you don't wish members to be notified of this post, you can check this box.

TIP: Once published, you can feature the event on your Overview page if you Group Owner or Administrator. Find out more about feature option.
Creating and sharing your event on Capacity4dev is simple and efficient, ensuring that your event receives the attention it deserves. Follow these steps, and you'll be able to promote your event to a wide audience within the platform. If you have any issues or questions, don't hesitate to reach out to the support team for assistance at support@capacity4dev.eu.