Managing Your Resource
Managing your Resource on the Capacity4dev platform is crucial to optimize its exposure, impact, and relevance to international cooperation professionals. This guide provides a detailed walkthrough on how to effectively manage your resource, ensuring it remains a pivotal tool for the community.
Adhere to these steps to make certain your Resource is both comprehensive and accessible:
- Step: Log in to Your Capacity4dev Account
- Step: Access Your Resource Dashboard
- Step: Manage the Overview Section
- Step: Manage the Info Section
- Step: Manage the News Section
- Step: Manage the Library Section
- Step: Manage Tabs
- Step: Keep Your Resource up-to-date
- Step: Edit Resource Owners or Administrators
Detailed steps
Step 1: Log in to Your Capacity4dev Account
Before editing your resource, you must be logged into your Capacity4dev account. If you don't have an account, register on the platform.
Step 2: Access Your Resource Dashboard
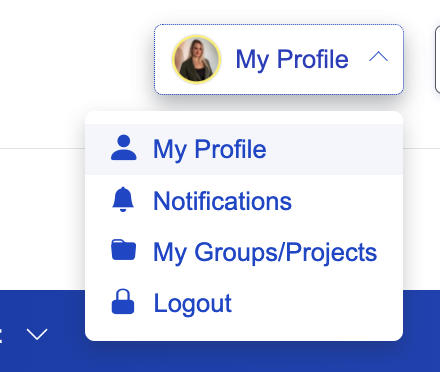
Locate your Resource dashboard by navigating to "My Profile" after selecting "My profile” from the header, and navigating to your Resource you want to manage or by using the platform's search function.
Step 3: Manage the Overview Section
The Overview provides a concise summary of your resource. It's vital to ensure that all details in this section, such as description and objectives, are accurate.
To edit the Overview, navigate to your Resource Dashboard and select “Manage Resource” followed by “Edit Resource”.

Always keep the description succinct and relevant, as it's prominently displayed on the Overview page.
Step 4: Manage the Info Section
The Info section is designed for a deeper dive into your Resource. Here, you can elaborate on specifics, such as methodology or objectives.
Editing is possible by selecting the “Info” tab. Expand the section by hitting the “Add page” button. For restructuring the table of contents, opt for the “Manage pages” option.

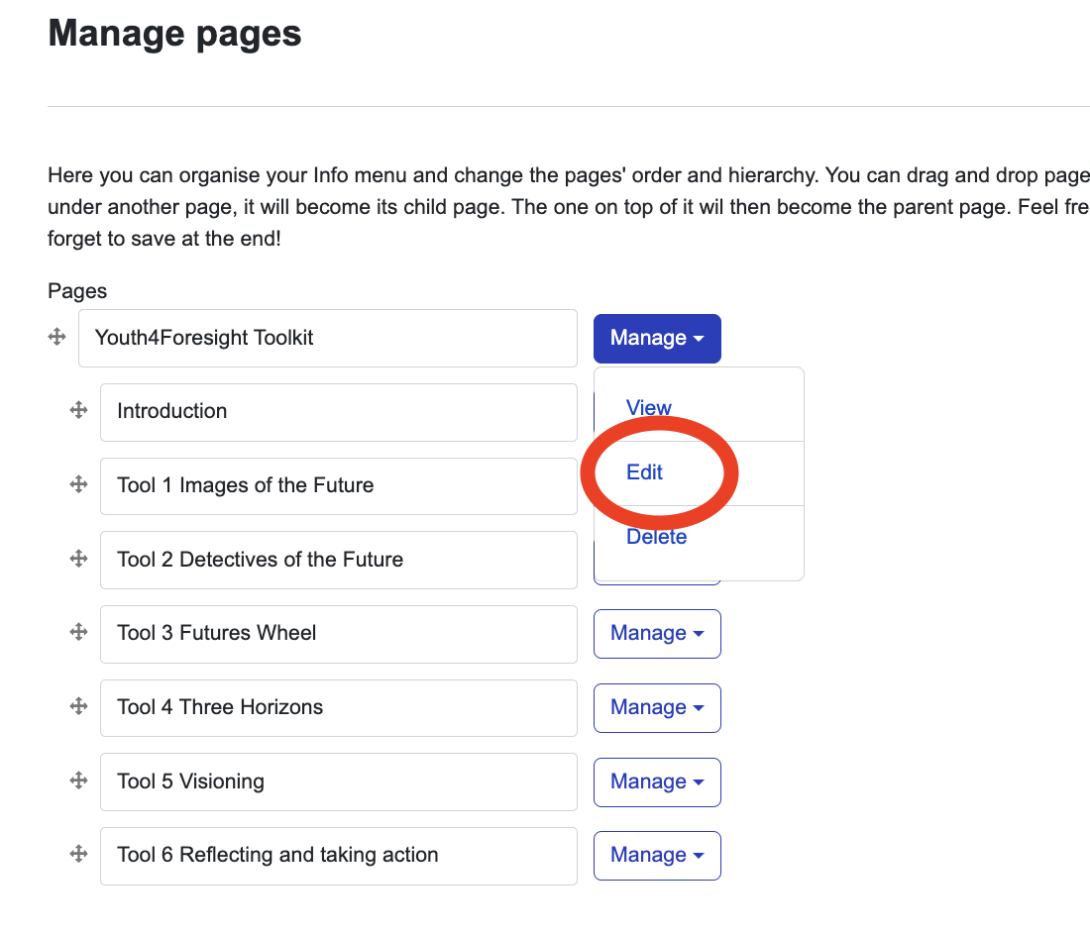
You can edit your pages by going to "Manage pages" and then select "Edit" from drop-down menu.
TIP: Generate sub-folders for your pages by selecting a parent inside 'Edit page' and utilizing the drag and drop function.

Rearrange your Info menu to best fit your needs. Remember, the clearer your information hierarchy, the easier it is for users to navigate your resource. Always remember to save your progress!

Here you can organise your Info menu and change the pages' order and hierarchy. You can drag and drop pages by using the four arrows symbol. When you drag a page to the right, under another page, it will become its child page. The one on top of it wil then become the parent page. Feel free to shuffle things around, and edit or delete entire sections. And don't forget to save at the end!
Step 5: Manage the News Section
The News section is where updates and announcements related to your resource should be posted. Consistent updates here can keep your audience informed and engaged.
Post updates through the yellow “Post content” button located top right. For publishing drafted news, go to “Manage” and select “Drafts.”

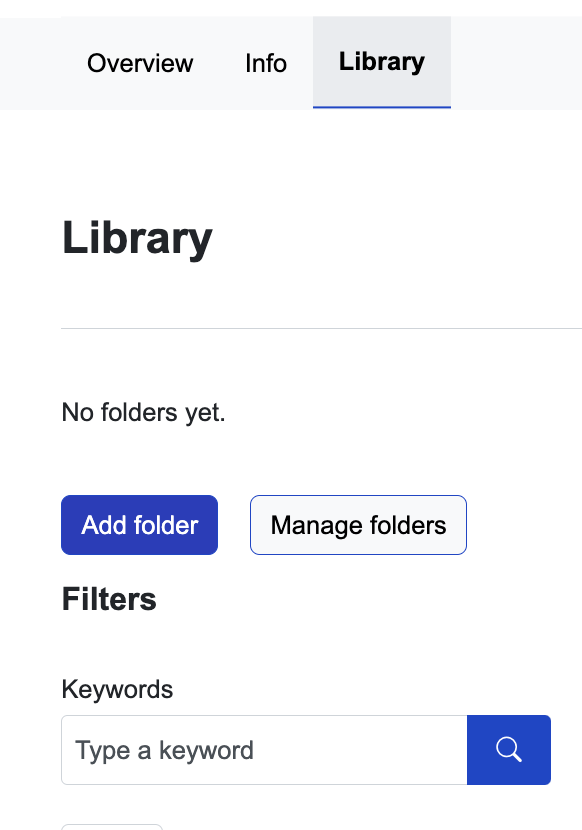
Your Library should house essential materials related to your resource, such as research papers, user guides, or templates.
To add new documents or items, use the yellow “Post content” button at the top right.
You can also add folders to your Library for members to better navigate different materials. The folders work on the same basis as the ones for Info.
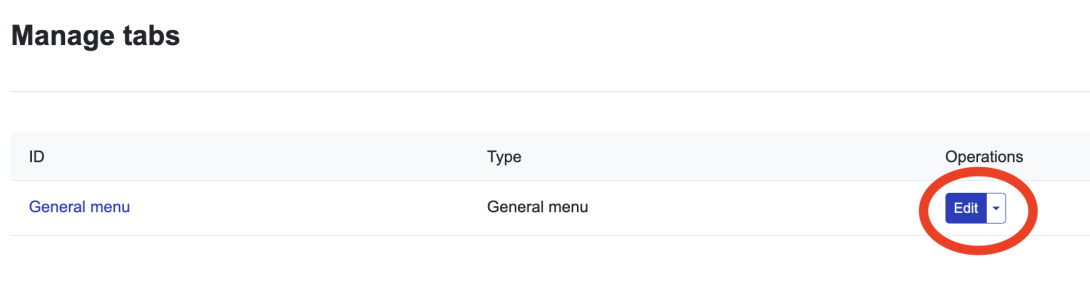
Managing Tabs is a special feature for Projects/Programmes and Resources. It means that you can customise your own navigation bar of your space. To manage Tab, navigate to "Manage Resource" and select "Manage Tabs."

When you are in managing tabs, you click on edit General menu.
You can add either an "add link" (Capacity4dev page) or a tab with an external link (other than the Capacity4dev page), which will redirect members to an external website). When adding a new page, which can be named as wished, you can choose the structure of "Info" page or "Library" page.
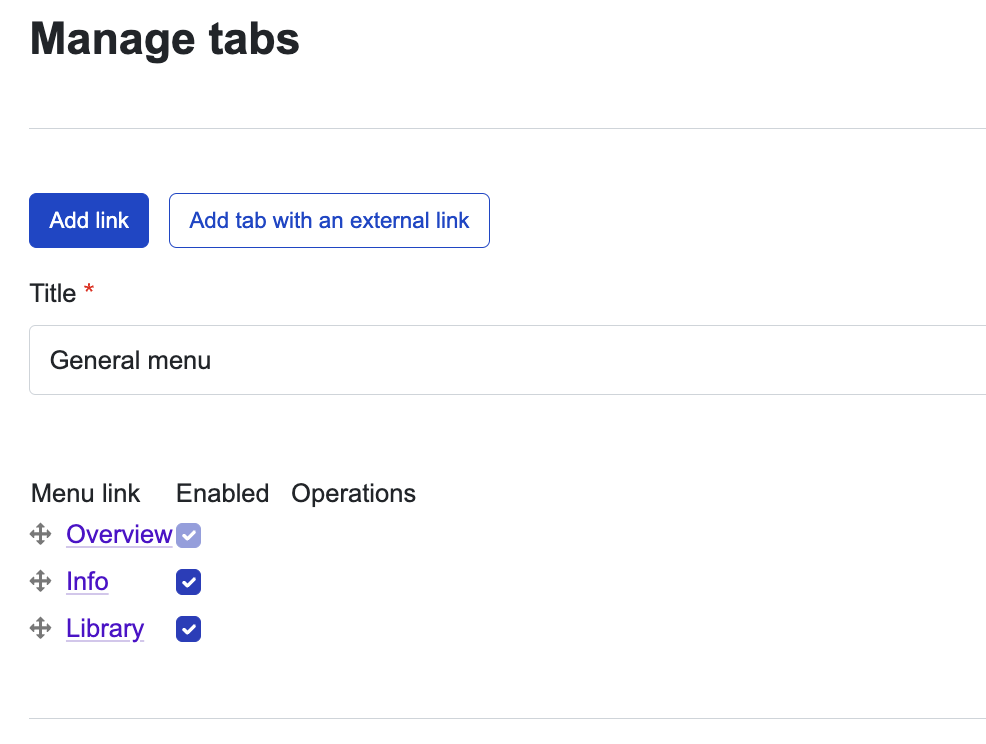
The "Overview" tab is the only mandatory tab that cannot be removed. However, you can hide any other tab that is already pre-defined, such as "Info" or "Library".
Step 8: Regularly Update Your Resource
Consistent evaluations and updates are crucial to ensuring that your resource remains beneficial and relevant to its users.
Step 9: Edit Resource Owner or Administrators
For adjusting the roles of current Managers or incorporating new Administrators click on “Manage” on your Resource dashboard and select “Manage Admins”.

By following these steps, your resource on Capacity4dev will remain a valuable tool, positively impacting the international cooperation community. Should you face any challenges or need additional support, please reach out at support@capacity4dev.eu. We are always here to assist!